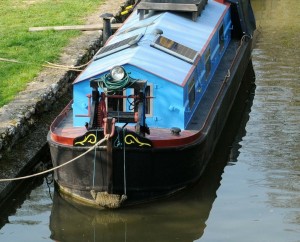
Installing solar panels on a narrowboat is a great way to keep your leisure and engine batteries charged up ready for use. The solar panel will enhance your time aboard by providing additional power, free of charge.
CLICK TO SEE ALL OUR SOLAR PANEL PRODUCTS…
So how do you fit a solar panel to your narrowboat and what do you need? Selecting a solar panel system is very straightforward and we will now guide you through the process.
Fitting a solar panel: DIY or professional?
So how do you go about fitting a solar panel? If you have reasonable DIY skills and a little time to spare, fitting a solar panel will be straightforward. We will guide you through the installation step by step.
The best types of solar panels for narrowboats. Fitting to curved decks.
There are two types of solar panel suitable for use on a canal boat or narrowboat. Both can be fitted easily to curved decks or cabin tops.
The most commonly used solar panels for narrowboats have rigid aluminium frames. These panels are very sturdy and are protected by a toughened glass front. You will have probably seen lots of these on other boats. Consequently they are the least expensive type of panel and are a good choice in most situations.
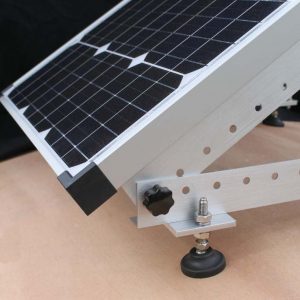
Tilting these panels up to face the Sun directly will increase the yield by up to 50%.
Your solar panel will perform at it’s best in full sunshine. If your boat never moves from its mooring fit the solar panel on the cabin-top facing South and tilt it up to face the Sun. Tilting the panel up at an angle can provide up to 50% more electricity. These fully adjustable frames can be tilted by up to 90 degrees.
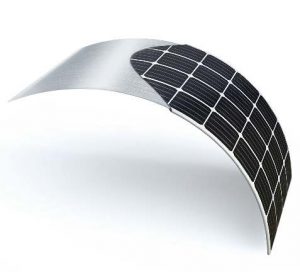
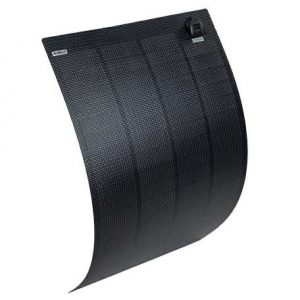
The second type of panel is the semi-flexible solar panel. These panels are only 3 mm thick and are built on an encapsulated aluminium laminate for thermal stability. The top surface is made of an abrasion resistant ETFE layer. The resulting panel is very weather resistant and remarkably flexible. We recommend you use these panels on curved surfaces such as your cabin top or on top of your wheelhouse. They are usually glued in place but can also be tied in place with light cords or elastic. They have the advantage that they will not get in the way of mooring lines and other ropes.
Whichever type you choose, make sure it has ‘monocrystalline’ solar cells. These cells provide the highest output for the size of panel.
Where to fit your solar panel.
If you move from location to location, fit the panel somewhere on the cabin-top where it can benefit from all-round sunlight.
Furthermore, keep it away from anything that might obstruct the light such as deck equipment and chimney pipes.
Keep in mind that solar panels are relatively fragile and generally cannot be walked on. So keep them away from areas that have a lot of foot traffic! If you do need to walk on your solar panels consider fitting a marine grade semi-flexible panel.
If you are concerning about mooring lines and other ropes snagging on the solar panel, choose a thin, semi-flexible solar panel and attach it directly to the cabin-top.
What size of solar panel should I use?
To trickle charge your batteries we suggest a solar panel of 100 watts.
For most owners we recommend a panel array of at least 200 watts. This will provide a good maintenance charge and will keep your battery in good order. During the summer months in the UK a 200 watt panel array will provide a lot of useful extra power and significantly reduce the need for a mains connection.
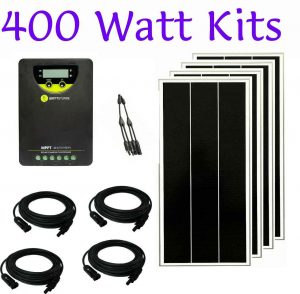
If you are looking for complete independence from the mains supply, we strongly suggest that you consider a solar panel array of at least 400 watts.
All types of solar panel can be used singly or connected together to form a more powerful solar panel system. If you decide to use more than one solar panel make sure that they use the same monocrystalline technology.
Fitting a solar panel to your narrowboat.
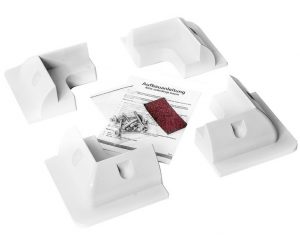
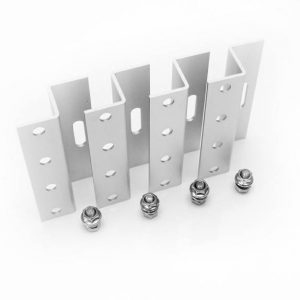
Rigid-framed solar panels need a small air space underneath to allow air to circulate. Attach them to your cabin-top using PVC corner mounts or aluminium mounting brackets. These mounts and brackets will support the panel securely and allow air to flow freely. Or use an adjustable mounting frame to extract more power from your panel.
Semi-flexible solar panels are glued permanently to the cabin-top. They are only 3 mm thick and are less obtrusive than rigid-framed solar panels.
Other items you will need.
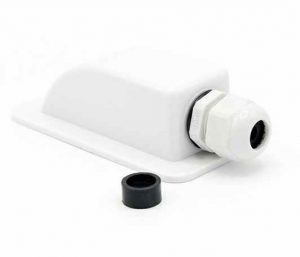
The cable from the solar panel has to be taken through the cabin-top via a water-proof junction box or gland.
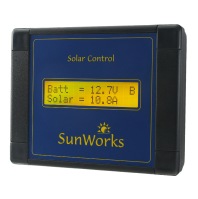
On route to the battery the cable must connect to an electronic charge controller. The charge controller protects the battery from overcharge, and can increase the life of your battery. They are available as ‘single battery’ types that will charge one battery, or as ‘dual battery’ types which will charge both your engine and leisure batteries from the same solar panel.
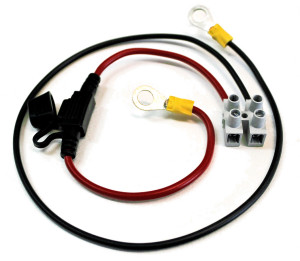
Finally, a fuse must be fitted between the charge controller and each of the batteries.
Which charge controller and what type of cable should I use?
Select a charge controller that has a higher rating than the solar panel. For example, a solar panel that produces 8 amps should be connected to a charge controller with a capacity of 10 amps or more.
A charge controller with an LCD display will let you see how well your solar panel system is working.
If you want to charge both your engine and domestic batteries from the same solar panel please take a look at our dual battery charge controllers.
For solar panel arrays of up to 250 watts use a cable with a cross-sectional area of 2.5 mm sq, or more. The cable should be multi-stranded and double-insulated. Above this size of solar panel you should use a 4 mm sq cable. Please contact us for more details.
MPPT charge controller are becoming more and more popular especially for larger solar panel arrays. See our MPPT charge controller range for more details.
If you are uncertain about which charge controller and cables to use take a look at a solar panel kit.
SunWorks solar panel kits. What’s included?
Each of our kits contains one or more solar panels, a matching charge controller, and suitable cables. These are the main electrical items needed for your solar panel system.
We have been designing and producing solar panel charge controllers since 2002. We consider the charge controller to be heart of any solar panel system. So all SunWorks solar panel kits have the correct charge controller included.
SunWorks solar panel kits are available in several sizes. Once you have decided which type and size of solar panel to use, select the appropriate kit from our range.
For example, the 400-MPPT-UNO kit contains four 100 watt rigid framed solar panels, an MPPT charge controller with LCD display, and the correct cables for this system.
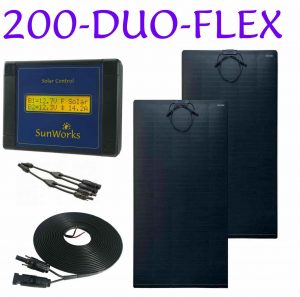
Our 200-DUO-FLEX kit has two 100 watt semi-flexible solar panels, a dual battery controller that will charge engine and leisure batteries from the same panel, and the correct cables.
Please contact us if you need help choosing which kit is best for you.
Alternatively, download the “SunWorks Guide to installing solar panels on your Narrowboat”. See the left hand column on this page.
Still not sure about fitting a solar panel?
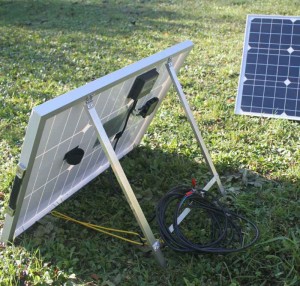
The simplest and quickest way to use a solar panel on your narrowboat is to buy a portable solar panel. These panels have a stand that allows you to set the panel up outside the boat, pointing it directly at the Sun.
SunWorks portable solar panels have an adjustable stand that allows the panel to be tilted up or down. Pointing the panel directly at the Sun makes it much more effective.
Our 50 watt panel is capable of powering a small television or laptop computer on a bright sunny day.
To use a portable solar panel, simply take it out of its bag, set it up on the deck (facing the Sun of course) and clip the lead to your battery. That’s it!
The solar panel will convert the Suns energy into electricity and charge up your battery.
At the end of the day, unclip the battery and fold away the stand. The solar panel can then be put away in its bag ready for the next day.
SunWorks portable solar panels have a robust aluminium folding stand, and a built-in SunWorks PWM charge controller. This charge controller is designed specifically with boats in mind. It will protect your battery from overcharge whilst ensuring that the battery receives the maximum charge possible.
The panel come complete with a strong and attractive carrying bag.
For more information, please take a look at our product page which has more details, and buying information.

